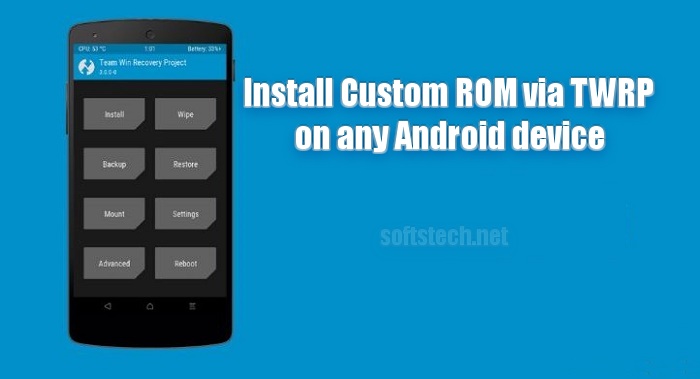
Here is the detailed and step by step instructions to install Custom ROM on any Android device using TWRP Recovery. Recently we have shown you different Custom ROMs for many Android devices. So we feel to show the common method which we use for flash any custom ROM via TWRP recovery on any android smartphone. Using this method, you can flash any third party/ unofficial Custom ROM/ Firmware on almost all android smartphones. If you have TWRP recovery and want to flash any custom firmware zip file, then here are quite simple steps to flash it. You just need to download the Custom ROM/ Firmware and then follow these steps. However, keep in mind, don’t miss any step.
Custom ROMs has lots of additional features and performance enhancements. CM/ CyanogenMod are very famous custom ROMs available for almost all Android devices. if you want to flash CM or any other custom ROM via TWRP recovery then follow the underneath steps.
Note: Flashing any custom ROM will wipe all your data and the existing ROM on the device. So backup your entire contents like Gallery, SMS, Contacts and Apps data before. Also, take Nandroid backup via TWRP for the existing ROM to rollback if anything goes wrong with your device. Proceed only at your own responsibility.
Preparation:
- Backup all the existing data on the device before starting the process.
- Make sure that your device has more than 80% charged battery.
- Install the USB driver of your device’s manufacturer at the PC. | Download page
- Enable USB Debugging Mode at the device, go to Settings → Developer options.
- Your device should have TWRP recovery installed or click here to flash TWRP. | Link
- Download custom ROM for your device at the PC, if you have already downloaded then skip. | CyanogenMod Custom ROMs
Steps to Install Custom ROM via TWRP Recovery
If you have TWRP recovery already installed and download the ROM zip file, then go ahead and follow the steps.
- Connect your Android device to PC and copy the downloaded ROM file into the device internal or external storage. [don’t extract]
- Unplug and turn off the device after copying gets finished.
- Now boot the device in recovery mode via buttons combination or BOOT APP.
- Once your device is in recovery, tap Nandroid backup and proceed, to backup the existing ROM for the safer hand.
- Then go back and tap Install → choose and select ROM Zip file → then Swipe at the bottom of the recovery menu to confirm.
- Wait for flashing process and go back to the main recovery.
- Then tap Wipe → Advance Wipe → choose Cache Wipe and Dalvik Wipe options only → Swipe to confirm.
- Finally, tap Reboot on recovery main to boot device normally.
- Done!
In results, the process to Install Custom ROM via TWRP Recovery on any Android device got successful. Now your device is running the new installed custom ROM. For any help, contact us.
